As a young child I imagined someone drilling a small hole through the end of a piece of wood and carefully sliding this long piece of lead into the shaft. Even though that sounds like a logical explanation, it’s not exactly how it works.
The History of Lead
First I’d like to go over a little bit of history concerning lead and how it was first used in writing. This whole thing didn’t start out as folks using a pencil. In fact, lead hasn’t always been used in pencils.
In ancient Egyptian and Roman times, they were using small lead discs instead of pencils for writing. They would use the disc of lead to draw lines on papyrus sheets. They weren’t using the lead to write with, rather a brush and ink. Strange that they wouldn’t think of using the lead as the actual writing utensil until later down the road.
By the 14th century, rods of lead, zinc and even silver were being used for drawing by the Europeans. They were making these faded grey drawings called silver-point. Then by the 16th century in Switzerland, Conrad Gesner had described a tool known as a writing rod that was held in a wooden case. Sounds a lot like a pencil to me…
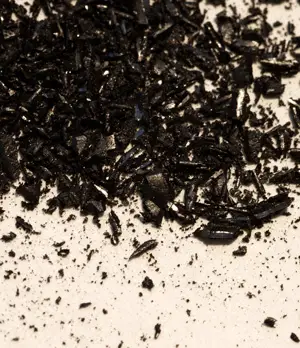
Eventually the lead pencil was replaced by a better substitute, graphite. Pure graphite was discovered in England around the 1560s and it wasn’t until then that what we know of as a pencil was created. Graphite is actually a type of carbon and is an extremely soft material. When the graphite is pressed against paper little small flakes of the graphite are left behind as it’s dragged along the paper. That’s what causes the black marks to show when writing or drawing.
When Wood and Lead Combine to Make a Pencil
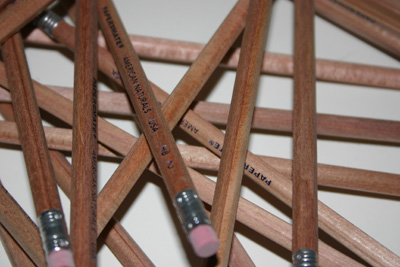
The wood used in making a pencil has to be of good quality, not just any old wood will do. Firstly it needs to be quite soft, this way it is easier to sharpen and has a little bit of a give to it which helps with strength. Some of the best and well known pencil wood is found in the Sierra Nevada mountains, California. Normally they look for a incense cedar of around 150 to 200 years old.
Once the wood is found then the lead must be mixed and prepared for the pencil. Graphite and clay are mixed together and fired as sticks in a very hot kiln. In order to grind the graphite a special “attrition mill” has to be used, otherwise it will not grind properly. Graphite acts as a natural lubricant because of it flaky texture, this is why a special mill is needed.
It’s a very interesting process this mill goes through. There are tiny particles of graphite blasted toward each other using compressed air. When the particles impact with each other they break up and may then be mixed with the coal. Very cool process… A pure china clay and water mix with the graphite to produce a paste like substance, which is then fed into a cylinder. The paste is compressed and it squeezes out the other end like toothpaste in one continuous length of lead, just the right size for a pencil.
The lead “string” is then cut into sections just the right length for a pencil and then dried in an oven. Once dried it then goes to the kiln we talked about earlier. This kiln fires the leads at over 2000 degrees F. Once the firing process is complete each lead is treated with a wax which helps to ensure writing with it will be a smooth experience. This also seals the lead which prevents it from slipping out of the wood casing.
Final Steps in Making a Pencil
Now that the leads are completed, it’s time to finish the project and reap the rewards of a shiny new pencil.
First step is taking the wood that was collected earlier and saw it into slats, each being the perfect length for a pencil. Each section of wood will be the width of seven pencils and only half a pencil in thickness. Most of you may see where this is going already.
The only thing left is to paint and lacquer the pencils, and of course ready made erasers may also be applied and crimped to one end. Not all pencils will have an eraser, some may have nothing or maybe a metal cap is crimped on the end. Then they are finished, maybe packaging is done for resale but that would be about it. Off to the market they go and into the hands of an artist or child ready to mark away with their brand new pencil.
Have you ever thought about the process involved in making pencils? Tell me what you think in the comments below.
